Broken-Edge Key Rack
June 2020

Bored out of my mind during COVID-19 lockdown, I started brainstorming ideas for some low-stress projects to keep me busy while staying home. After looking through my bucket of scrap wood, I came up with the idea to make a key rack. It would give me a single place to keep my keys and anything else I carry on a daily basis. So, I got to work. The back board is pretty special to me. It is one half of one of the boards I broke during my Tang Soo Do Black Belt test. Originally, I wanted to mount both halves, but that would have required either filling the gap with something, or dealing with an oddly-shaped gap behind the shelf. So, after much back-and-forth with myself, I settled on just using the bigger of the two pieces.

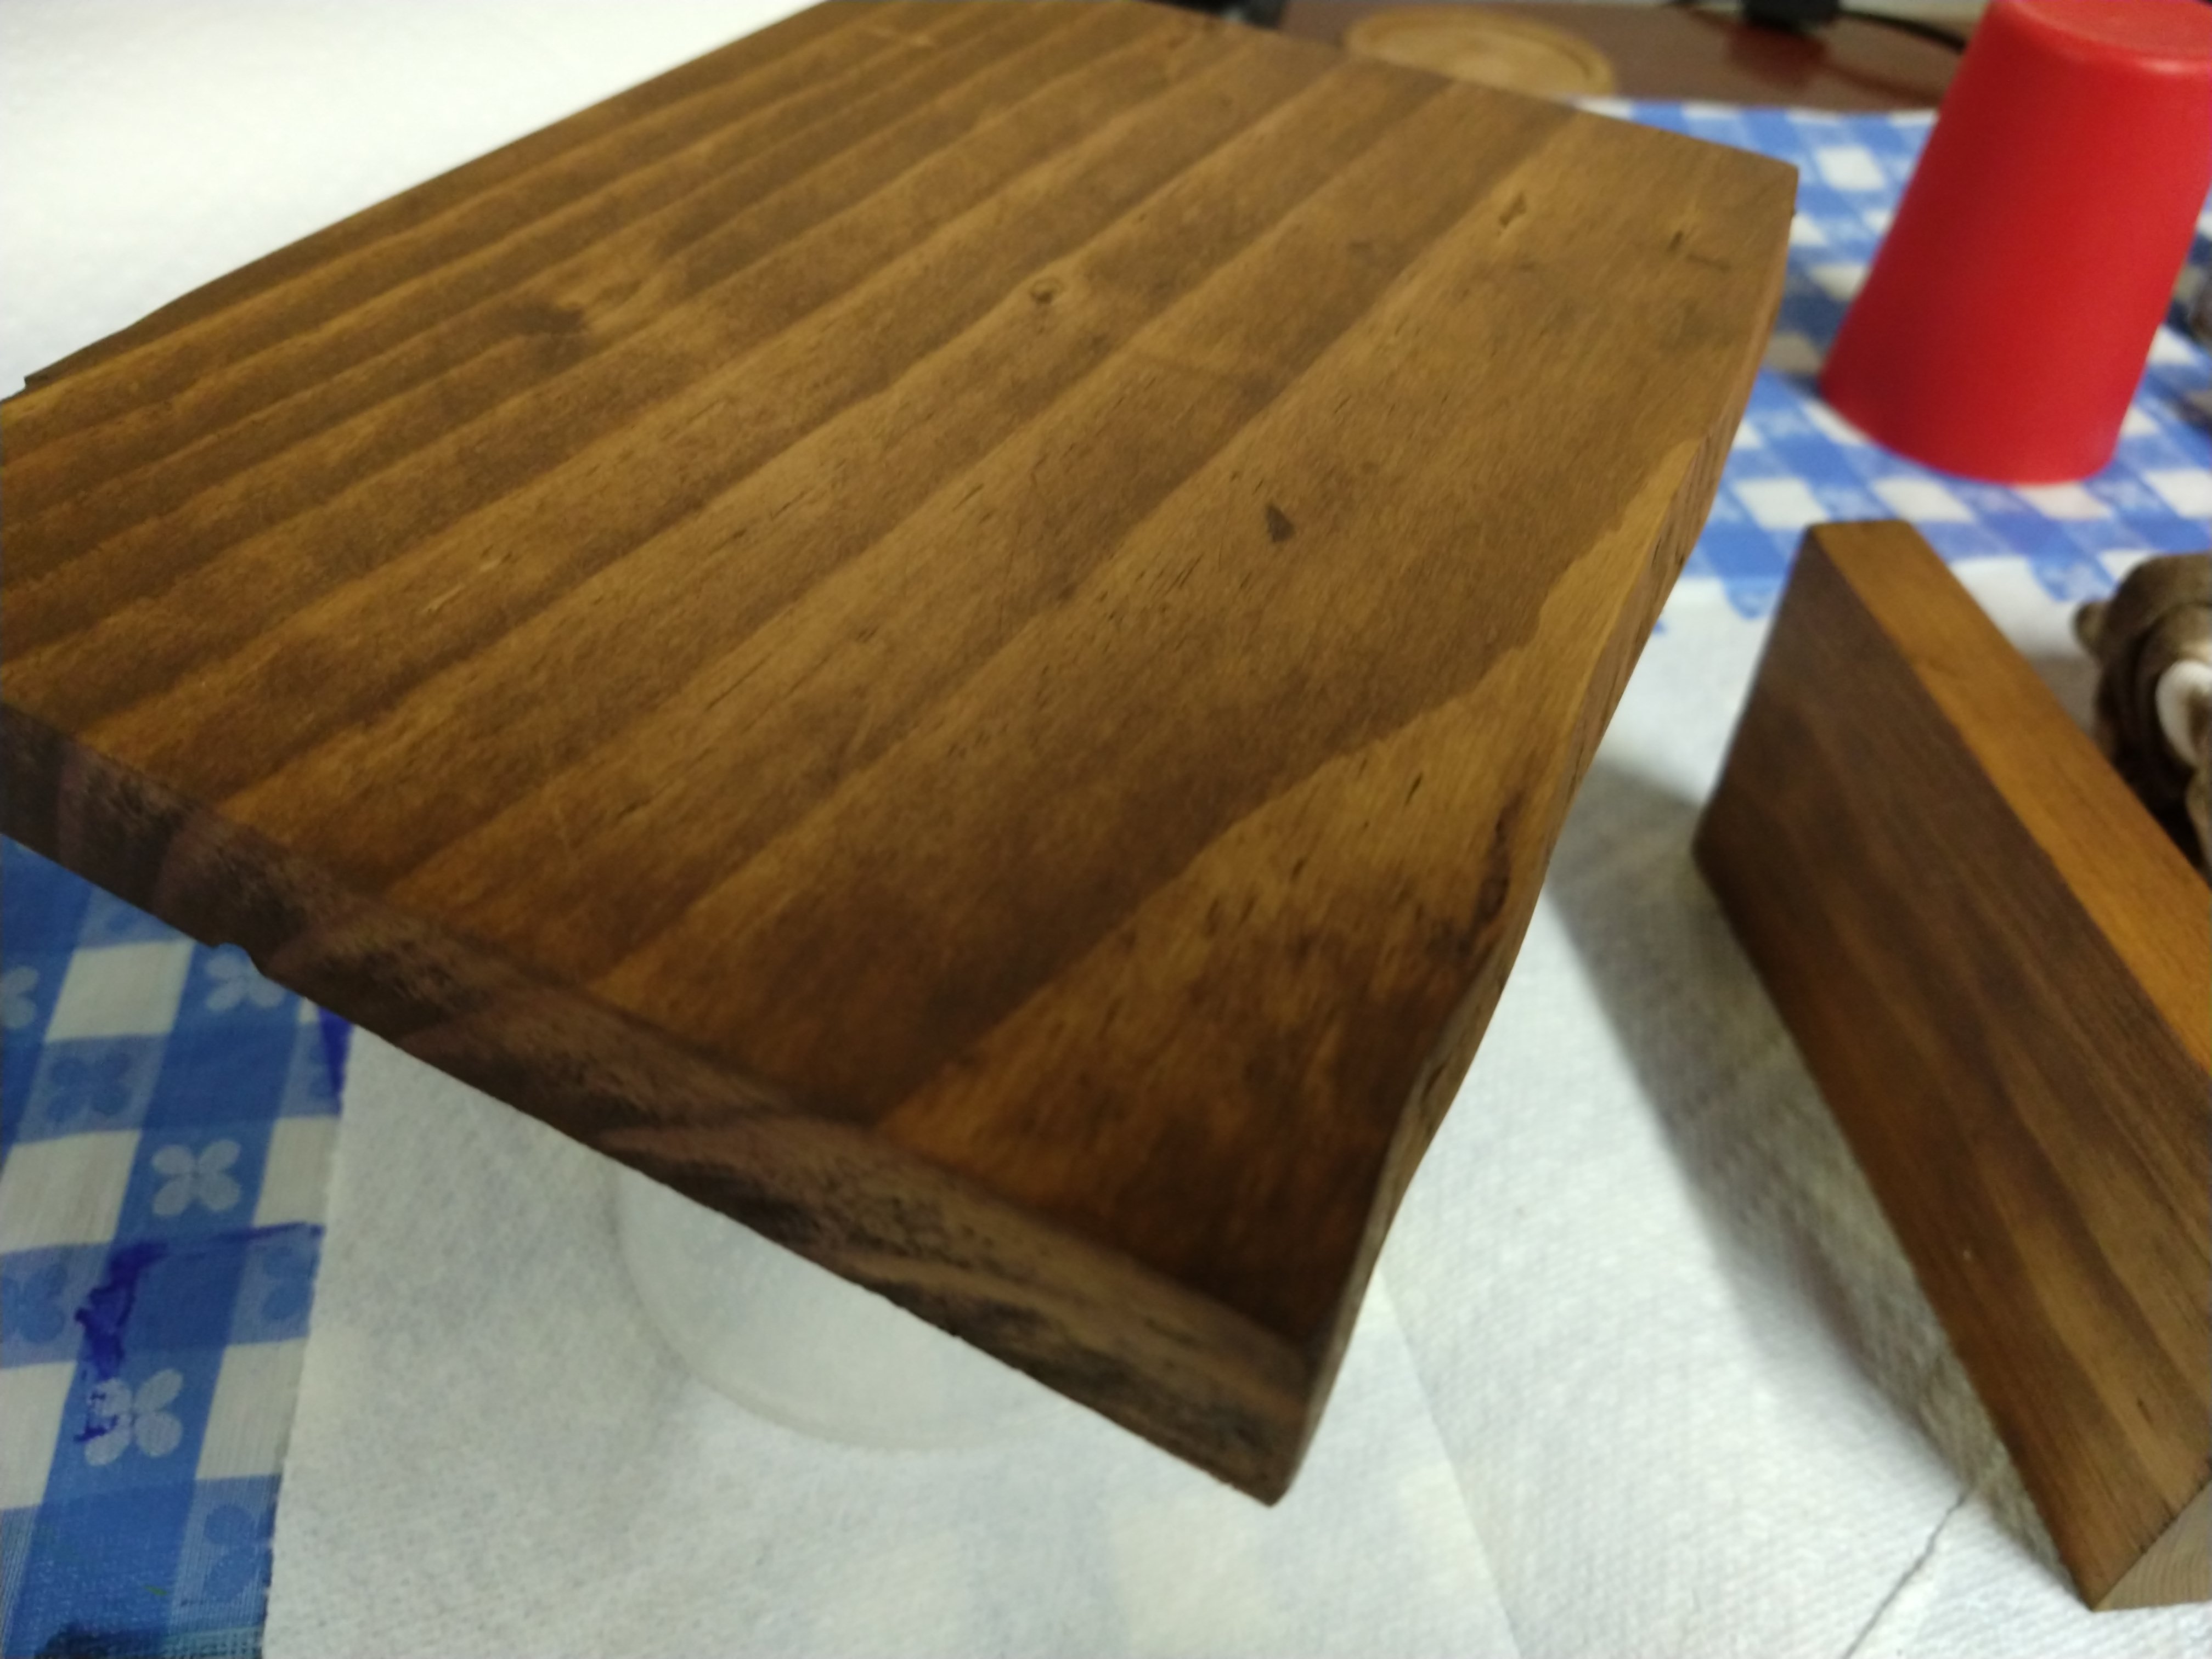
I wanted to keep as much of the character of the broken board, while also making the edge clean enough to stain and seal. I did my best to save the contour and just lightly sanded it until the splinters were gone. I left the edge somewhat rough to preserve the broken look. Once I was happy with the edge, I sanded the front face and the sides of the board with 120-grit sandpaper, as that was what I had lying around. I wasn't going for perfection with this project, so the rough sanding was enough for me.
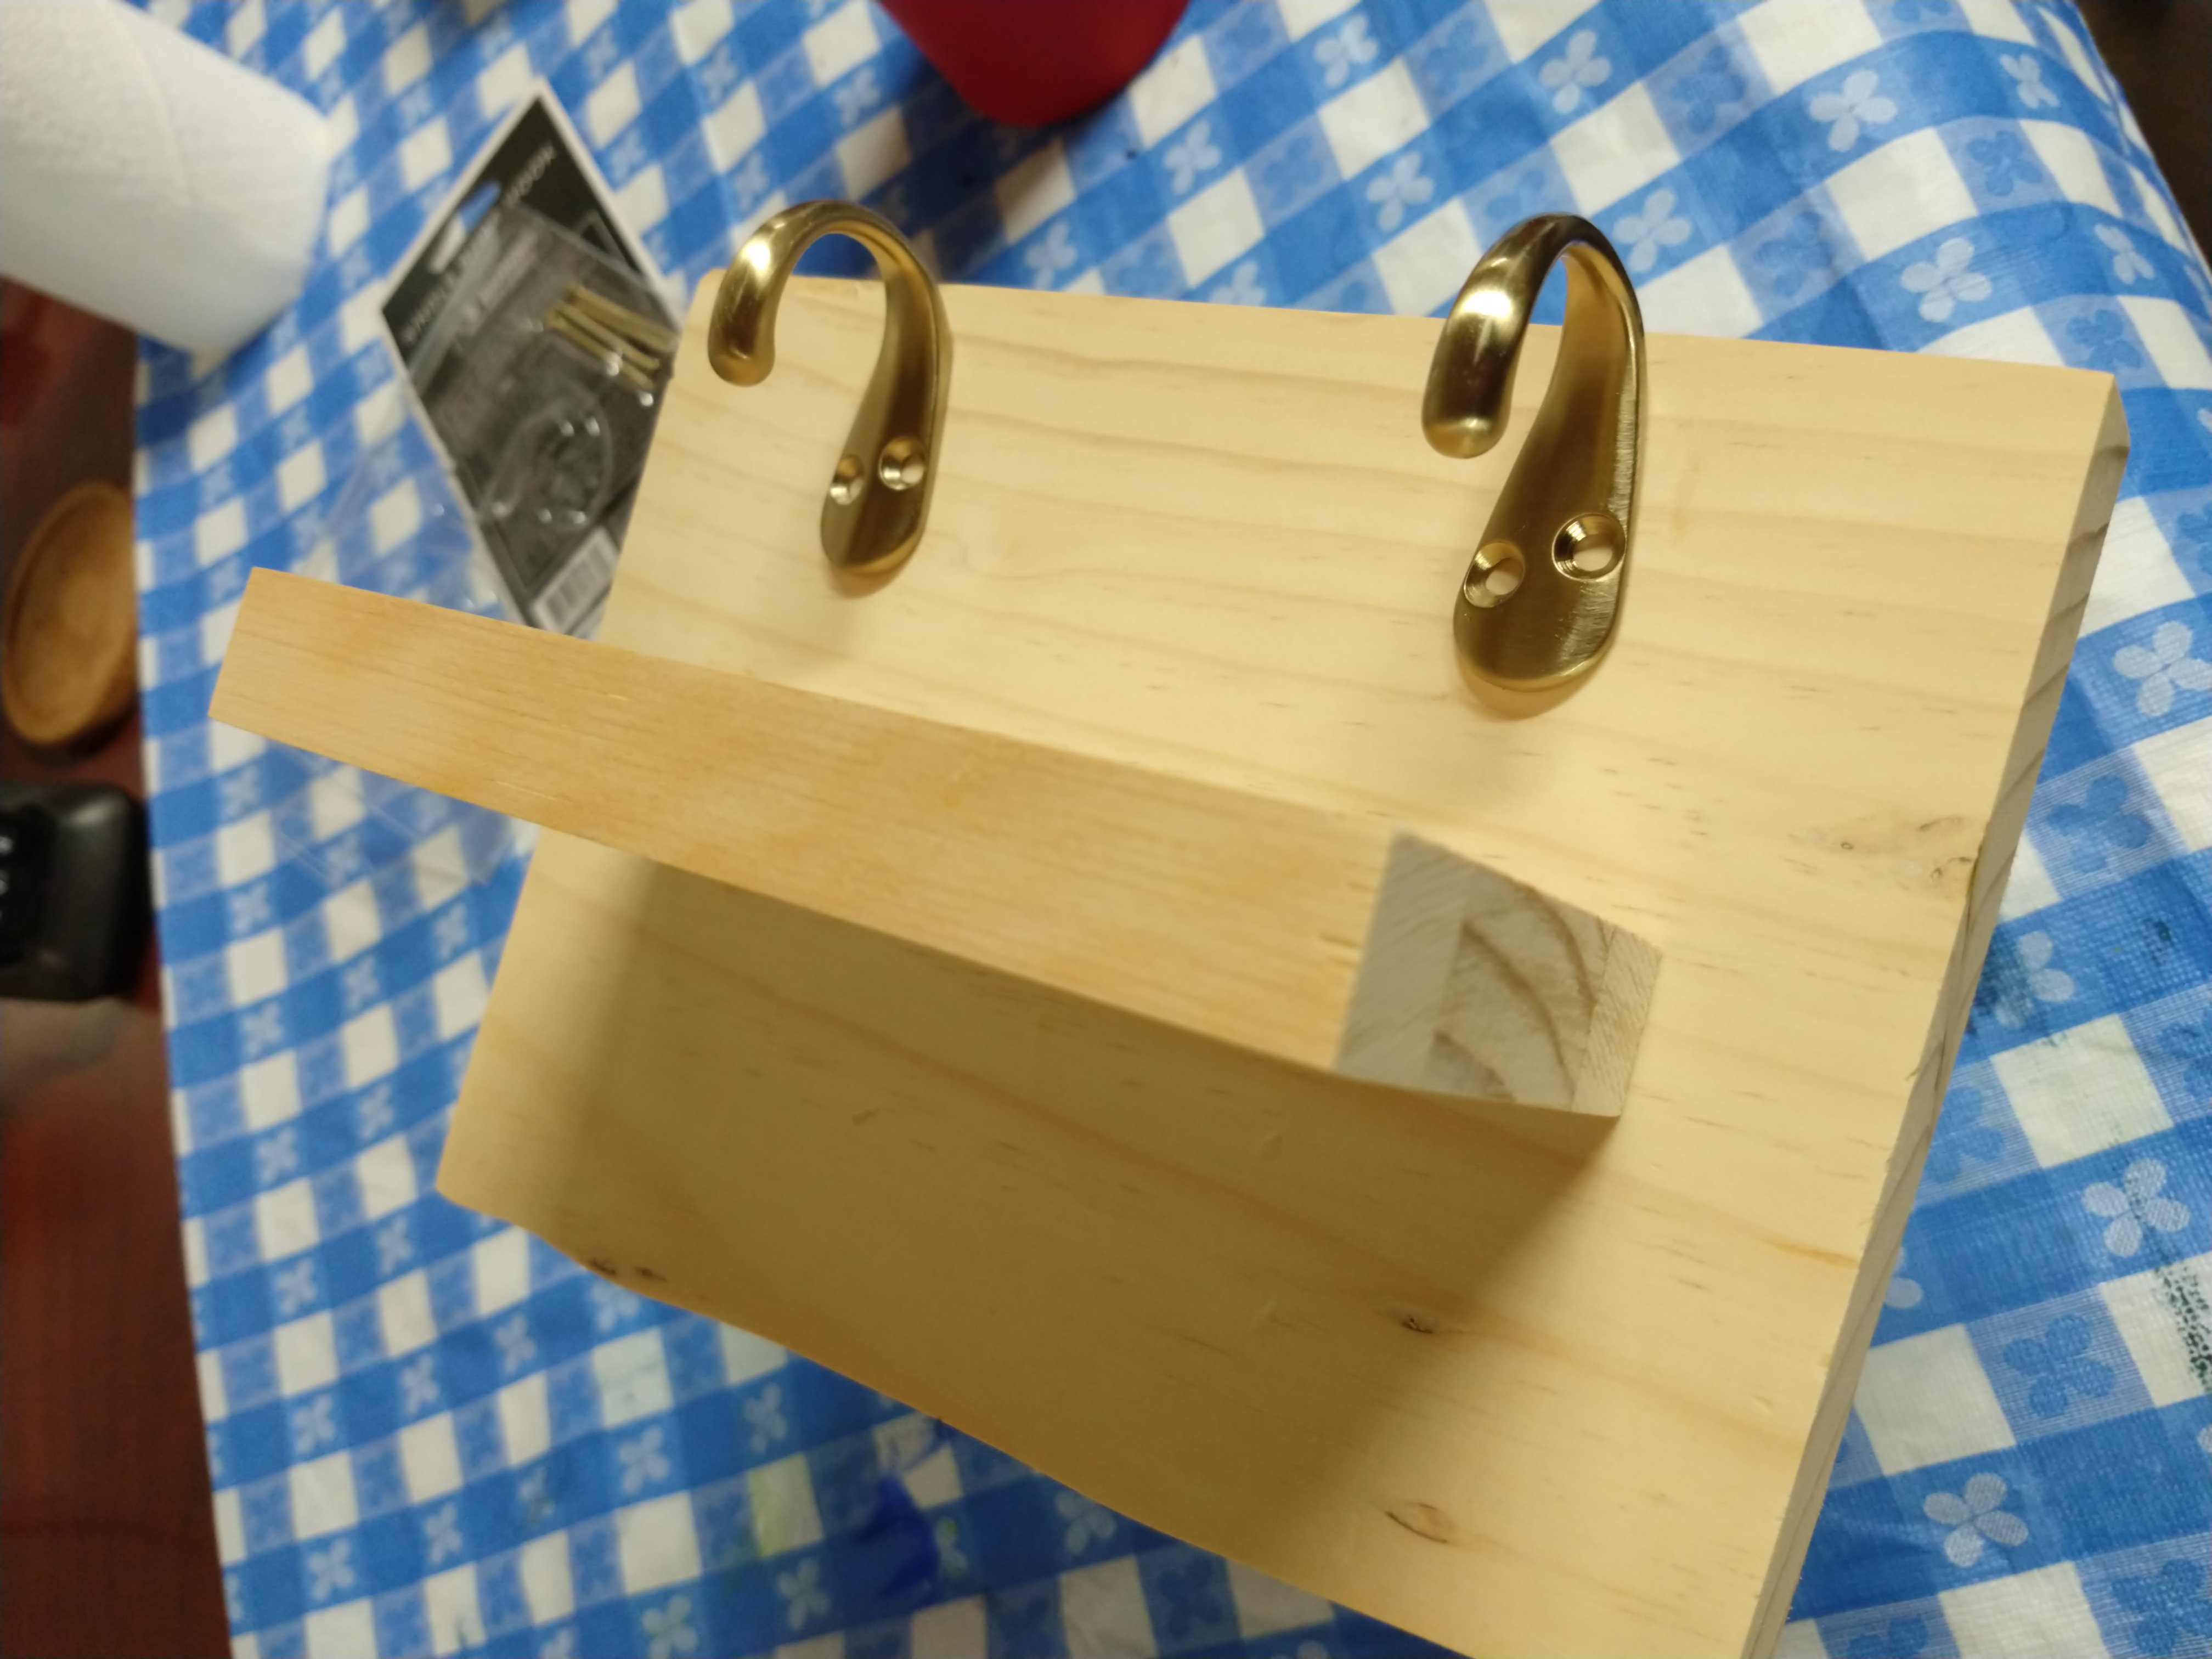
I now began looking at the remaining scrap wood I had and started laying out a simple shelf. As I didn't have any wide boards with no holes in them, I decided to glue a couple of smaller boards together along the edges to create a more interesting shelf. I used two pieces of 1-in square poplar board and a short piece of 1-in x 2-in yellow pine that I had left over from the model house project.
I do not have a planer or table saw, nor did I have a hand plane at the time I did this project. I also had no way to get the edges of the pieces perfectly square. So, to get the edges as flat as possible, I just held the wood and sanded it against a piece of 120-grit sandpaper laid over my drill press table. That seemed to work well enough, so I glued and clamped the three boards together to create the single shelf board I wanted. Once the glue had dried overnight, I sanded the top and bottom faces flat using the same method.
Once both the back and shelf boards were sanded to an acceptable level, I put down a layer of stain. The stain I used was Varathane Early American oil-based stain. I expected to put on multiple coats, but after letting it soak in for a minute and wiping off the excess, I really liked how the single coat turned out. I let it dry for around 12 hours and came back to fix any uneven or light spots the next day. At this point, all that was left was to seal and assemble it. I used a Varathane semi-gloss polyurethane to seal the wood.

The final step was assembly. I made sure that the shelf was as level as I could make it, and used two 2.5-in deck screws to secure it to the back board. The reason I used deck screws was simply that they were long enough to go all the way through the first glue joint on the shelf, and they were what I had lying around (because COVID...). The hooks I chose for the same reason, as they were left over from a bathroom remodel a few years back.